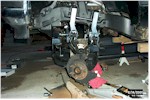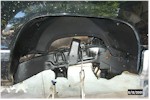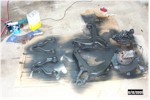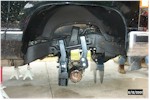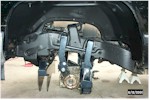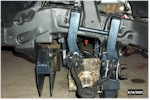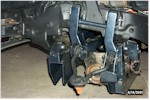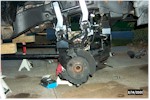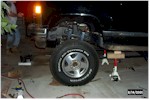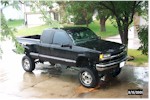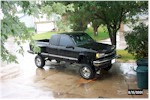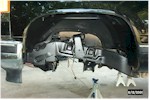
After everything was removed, and cleaned, the lift kit installation could begin.
The kit that I installed is a Whiplash Performance 88-98 Chevy IFS 10inch kit. I ordered the driveline option(front driveshaft with CV joint). I also opted for the new rear springs/blocks instead of taller blocks and add-a-leafs.
To begin, the factory bump-stops need to be removed (cut off) from the front of the truck, and they need to be ground down completely to the level of the frame. The drivers side rear mounting ear for the differential needs to be removed (cut off) also. There is also a cross-member in the front, under the steering box, that has three sections of metal facing the rear of the truck. The center section needs to be cut out for a steering assist arm that swings through this area. The knock-outs for the upper a-arms need to be removed to make the bolt hole an oval to allow the bolting in of the a-arm relocation brackets. These knock-outs are used for front-end alignment.
Since I had everything out, I cleaned and painted the frame/frontend with an epoxy primer. I also painted all of the components that were disassembled. While handling the components I found the wheel bearing on the passenger side had a lot of sloppiness. These are sold as a hub unit with the ABS sensor installed. I bought mine from O'Reilly Auto parts. O'Reilly had the part shipped from Des Moines, ready the next day. Advanced could get one 3-5 days after I went in to pay (they couldn't take a credit card number over the phone), and a local Chevy dealer had one in stock($523.00/today dealer - $196.00/next day O'Reilly - winner O'Reilly)
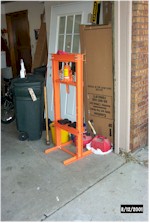
I also found that no-one local would press in/out ball joints and bushings in a short amount of time, and the cost would be around $40-$50 estimate + any additional time, to do the work on the a-arms. So now I have a new 12-ton press $99.00 courtesy of Harbor freight tools.
The kit is installed with a rear cross-member, front cross-member A-Arm relocation brackets, and a cross-member that ties the front portion of the a-arm brackets together and hangs the front portion of the differential. You re-use the passenger side differential bracket and bolt the parts from the kit in along with the differential. I had to drill holes through the rear portion of the a-arm relocation bracket to tie it to the rear cross-member. The kit also comes with compression struts which bolt from the rear cross-member to the transmission mount (the struts are not mentioned in the instructions anywhere). On the note of instructions - un-box everything when it arrives. My instructions were found in the box with the shocks. The shocks are Rancho 5000's (four in one box), which I put to the side, since I would not need them until I was almost completely finished. In the mean time, I had Whiplash Performance fax a set of instructions to me. It would have also been nice to have a parts-list included in the kit.
